Overhead pagers are vital for manufacturing jobs, school intercoms, and any context that requires you to use a speaker system.
With OnSIP, overhead paging systems are easy to setup. For this tutorial, we're going to rely on SIP-enabled CyberData speakers to build an overhead IP paging system.
CyberData IP Paging Endpoints
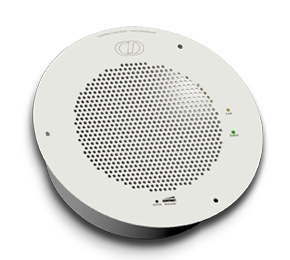
CyberData's IP Paging Endpoints are overhead speakers that work best for manufacturing plants, classrooms, offices, medical facilities, and other clinics. CyberData offers a range of SIP-enabled IP Paging Endpoints, including Power over Ethernet mass notification devices, two-way conversation endpoints, and paging servers that notify multiple zones.
Many times, though, businesses are looking to rig up old, pre-installed analog speaker systems to communicate with a new VoIP phone system. In this case, CyberData has a collection of analog adapters that can merge the analog speaker system with a VoIP configuration.
How To Set Up OnSIP Paging System
Step 1: Gather information for each OnSIP user
Choose the OnSIP users you would like to link to your IP Paging Endpoint. Then go into the 'Users' tab in the OnSIP Admin Portal. Click on the each chosen user and find the following information under the 'Phone Configuration' section.
- SIP Address (Address of Record)
- SIP Password
- Auth Username
- Username
- Proxy/Domain

Step 2: Connect CyberData Speaker to Network or Use Analog Adapter
Connect IP Paging Endpoint to Network
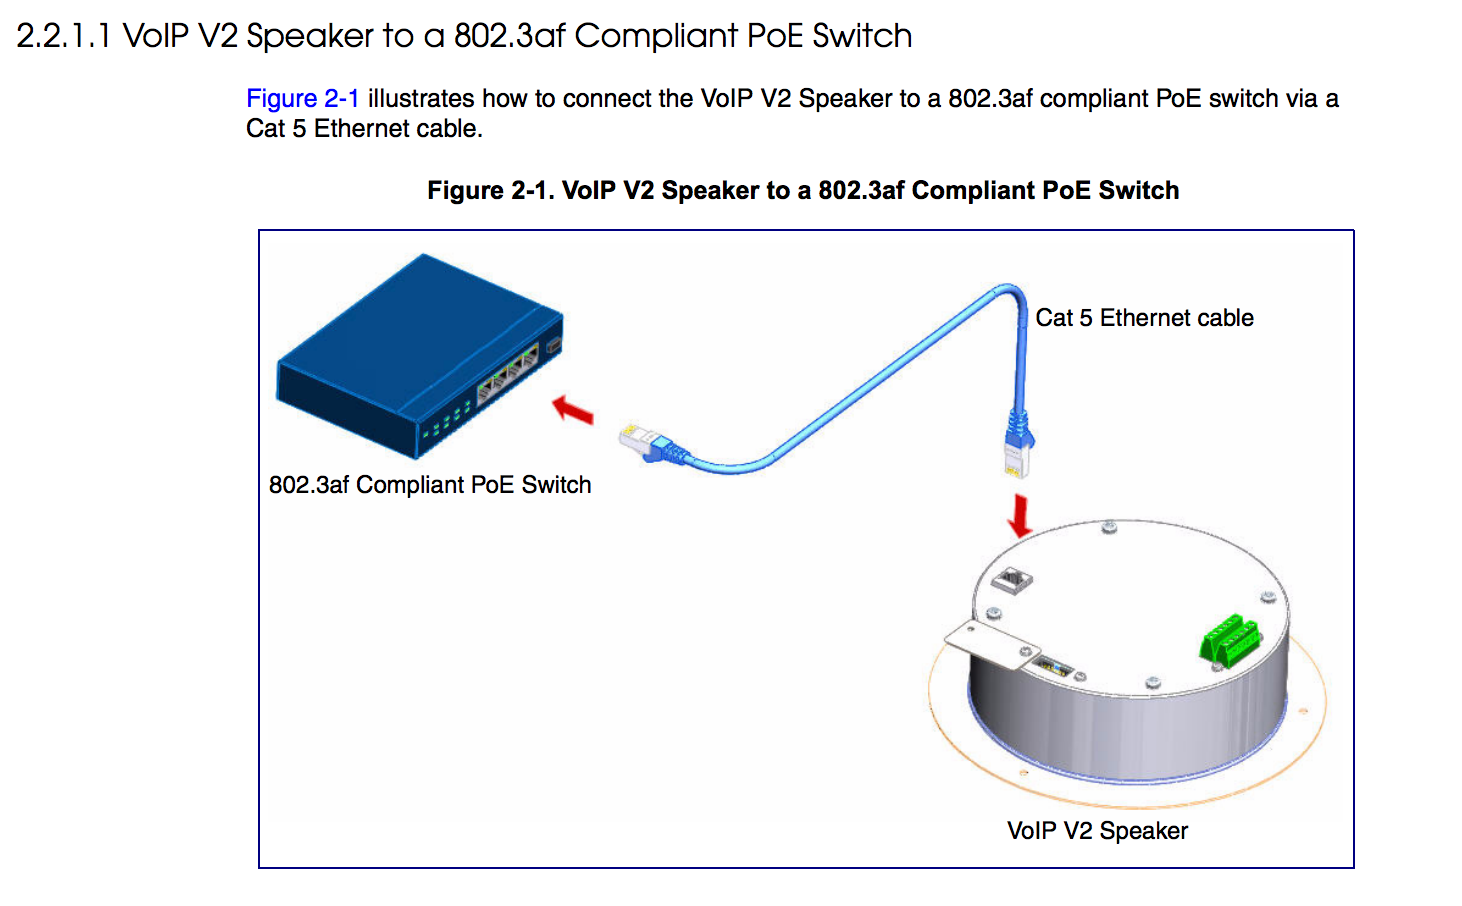
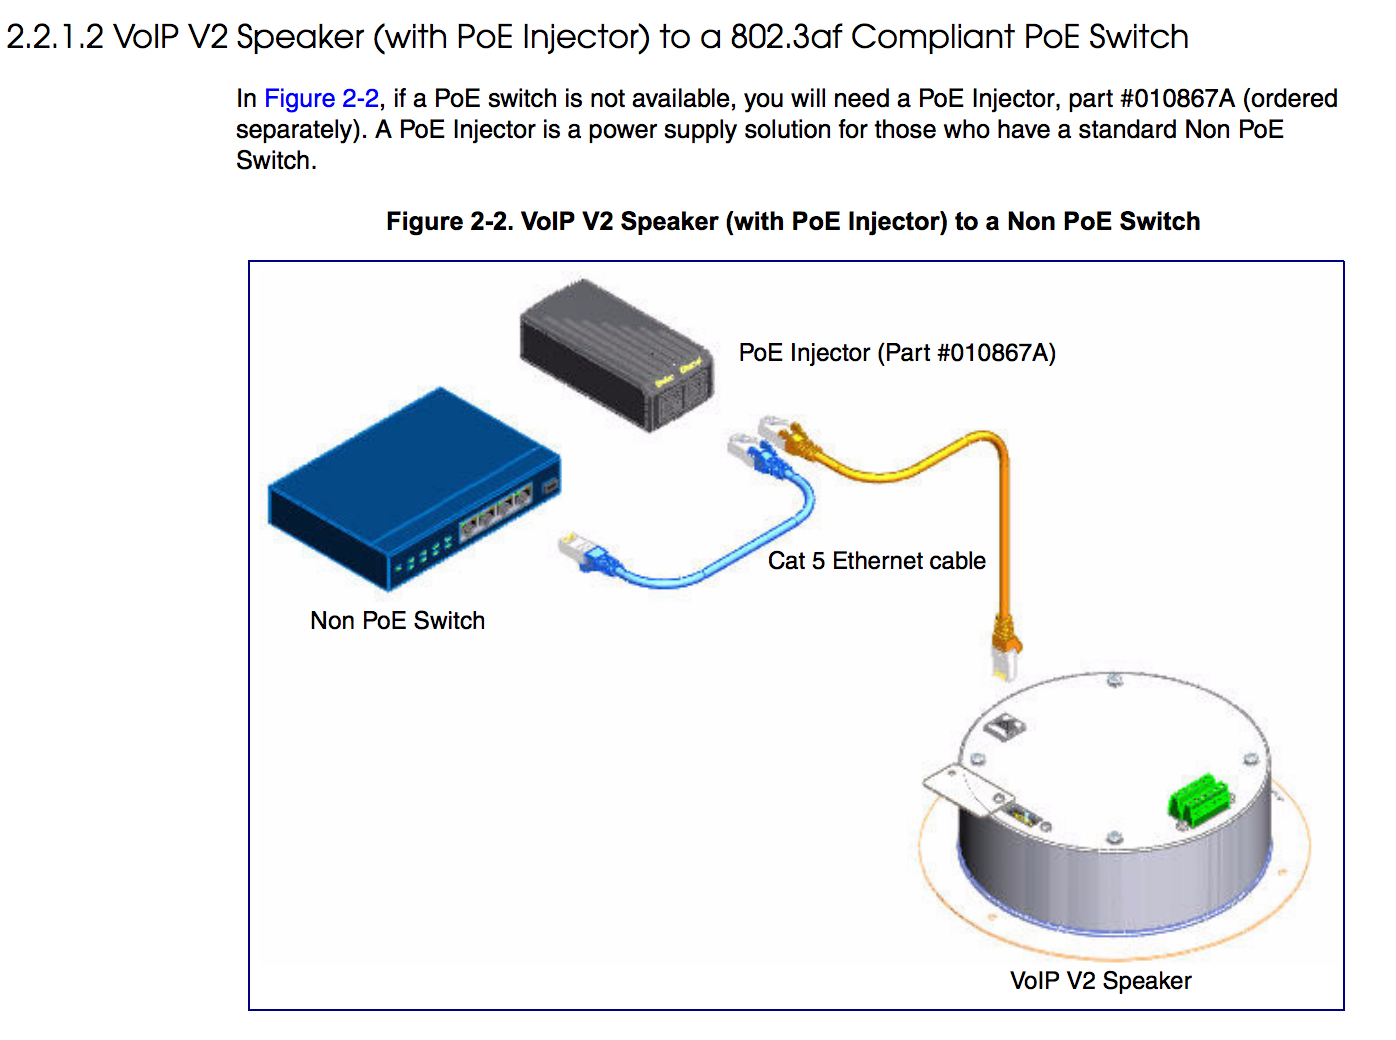
If you've bought a new SIP-enabled IP Paging Endpoint, the first step is to connect the device to the LAN your VoIP network uses. Make sure to utilize a 802.3af Compliant PoE switch. If you do not have a PoE compliant switch, run your IP Paging Endpoint through a PoE injector.
Use Analog Adapter to Connect Prexisting Speakers
On the other hand, if you're keeping a set of analog speakers instead of purchasing new SIP-enabled ones, the process is slightly different. Instead of connecting your speakers directly to your LAN, you're going to use a SIP paging adapter to merge your VoIP phone system with your analog speakers.
The SIP paging adapter connects to a PoE switch, which in turn connects to your IP phone. Then the analog speaker connects to the SIP paging adapater via a Supervision Switch. CyberData has a whole series of documentation on how to connect VoIP service to analog speakers with compatible adapters on its website.
Step 3: Use a web browser to log into your CyberData Speaker
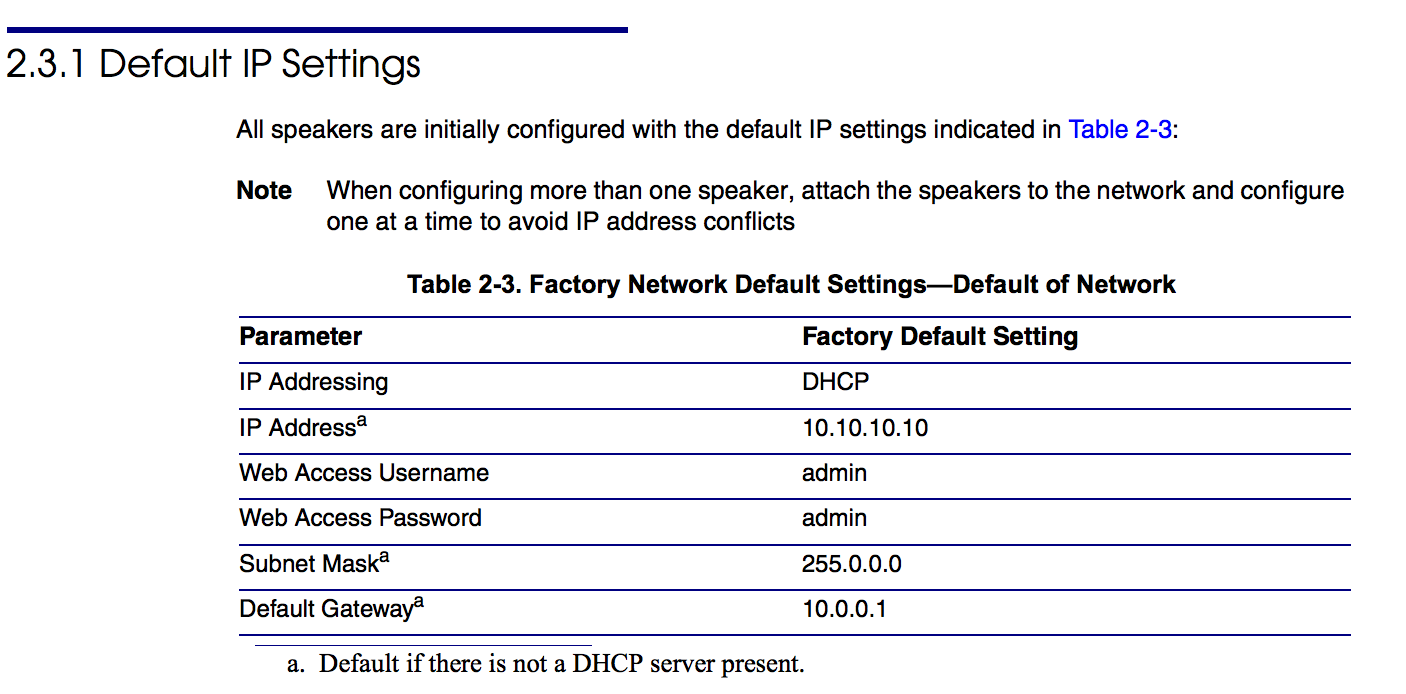
Once your IP Paging Endpoint is connected to your LAN, use a browser to navigate to the IP address of your speaker. DHCP is the default network option for the speaker, so you will need to check your DHCP pool's bindings for the serial number of the device. The serial number can be found on the back of the device.
You will need to log into the device using the username "admin" and password "admin." From here, click on SIP CONFIG.
If you're using a SIP paging adapter, refer to the mentioned documentation on CyberData's website to setup your speakers.
Step 3. Enter your user information from Step 1
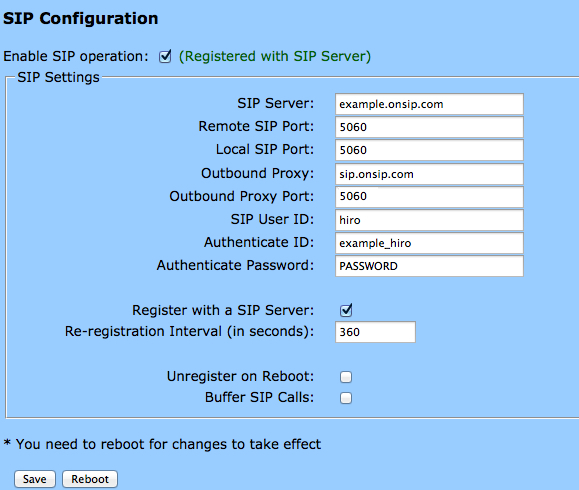
Under SIP Configuration, enter the information collected in Step 1.
- SIP Server: Domain
- Local SIP Port: 5060
- Remote SIP Port: 5060
- Outbound Proxy: sip.onsip.com
- Outbound Proxy Port: 5060
- SIP User ID: Username
- Authenticate ID: Auth Username
- Authenticate Password: SIP Password
When you finish entering your information, click Save and then Reboot.
Step 4. Confirm registration of your device
Navigate to the Users tab in the OnSIP Admin Portal. You will see a green "online" notation for each user with a registered device.
And with that, your paging system should be good to go.

